As a photographer, it’s fair to say that your images are the most important asset you have. You can spend so much time, energy and money in your pursuit of capturing great images and it would be devastating if you were to lose these images.
It may be a bit dull and a bit tedious but preventing data loss and having a robust workflow is really important.
You might have heard some horror stories of people that have lost years of work or maybe a wedding photographer that lost those precious images.
In this article, I just wanted to share what I’ve learnt over the years and share some of the best practices on preventing data loss. I’ll also share some tools and the software I personally use in my workflow.
There are plenty of other really thorough resources out there where you can dive into much more detail.
This is certainly not a definitive guide. But hopefully this acts as either a starting point for you or gives you some thoughts on improving your existing workflow.
Backup Workflow – Key Criteria
When it comes to establishing a workflow, there’s probably a couple of things to keep in mind and aim for:
- A good backup strategy should be easy to manage and be a frictionless experience. f it’s difficult or complicated it will always be the last thing you want to do. As a hobbyist photographer, you don’t want to waste your precious free time becoming frustrated. You want to be capturing new images, editing existing ones or refining your skills!
- Your workflow should always be redundant (more on this later). Essentially, this is about making sure you have multiple copies in different places so you’re never at risk of losing data in the event of hardware failure.
- It should be simple (yet effective) and you need to understand every stage of the process and why you are doing it – this will help refine the process over time.
- Always be on the lookout for new technology and always do a bit of research on how you can improve your workflow
- The workflow shouldn’t cost the world – with a little bit of effort, the approach I use is really cost-effective
Data Protection – Key Concepts
Data protection and backup are simply using a combination of techniques and solutions to protect you against lost or corrupted data.
It can be quite a complicated topic but it’s worth understanding, especially considering the digital world we live in now.
Below are a few key concepts and good practices to be aware of and have some basic knowledge.
3-2-1 Backup Strategy
This strategy has been around for years and goes back to the early days of computing. Essentially it’s having 3 copies of your data, two of which are local and on different devices and at least one copy should be stored off-site.
The idea of storing data on two devices is to protect you from hardware failure. If one device fails, you have another device containing the same data.
Having one copy stored in a different location also protects you against the worst such as floods, fire, theft and natural disaster.
The best option for an off-site backup will be an online and cloud-based system. This should be a cloud backup solution as opposed to a cloud storage solution (more on this further down).
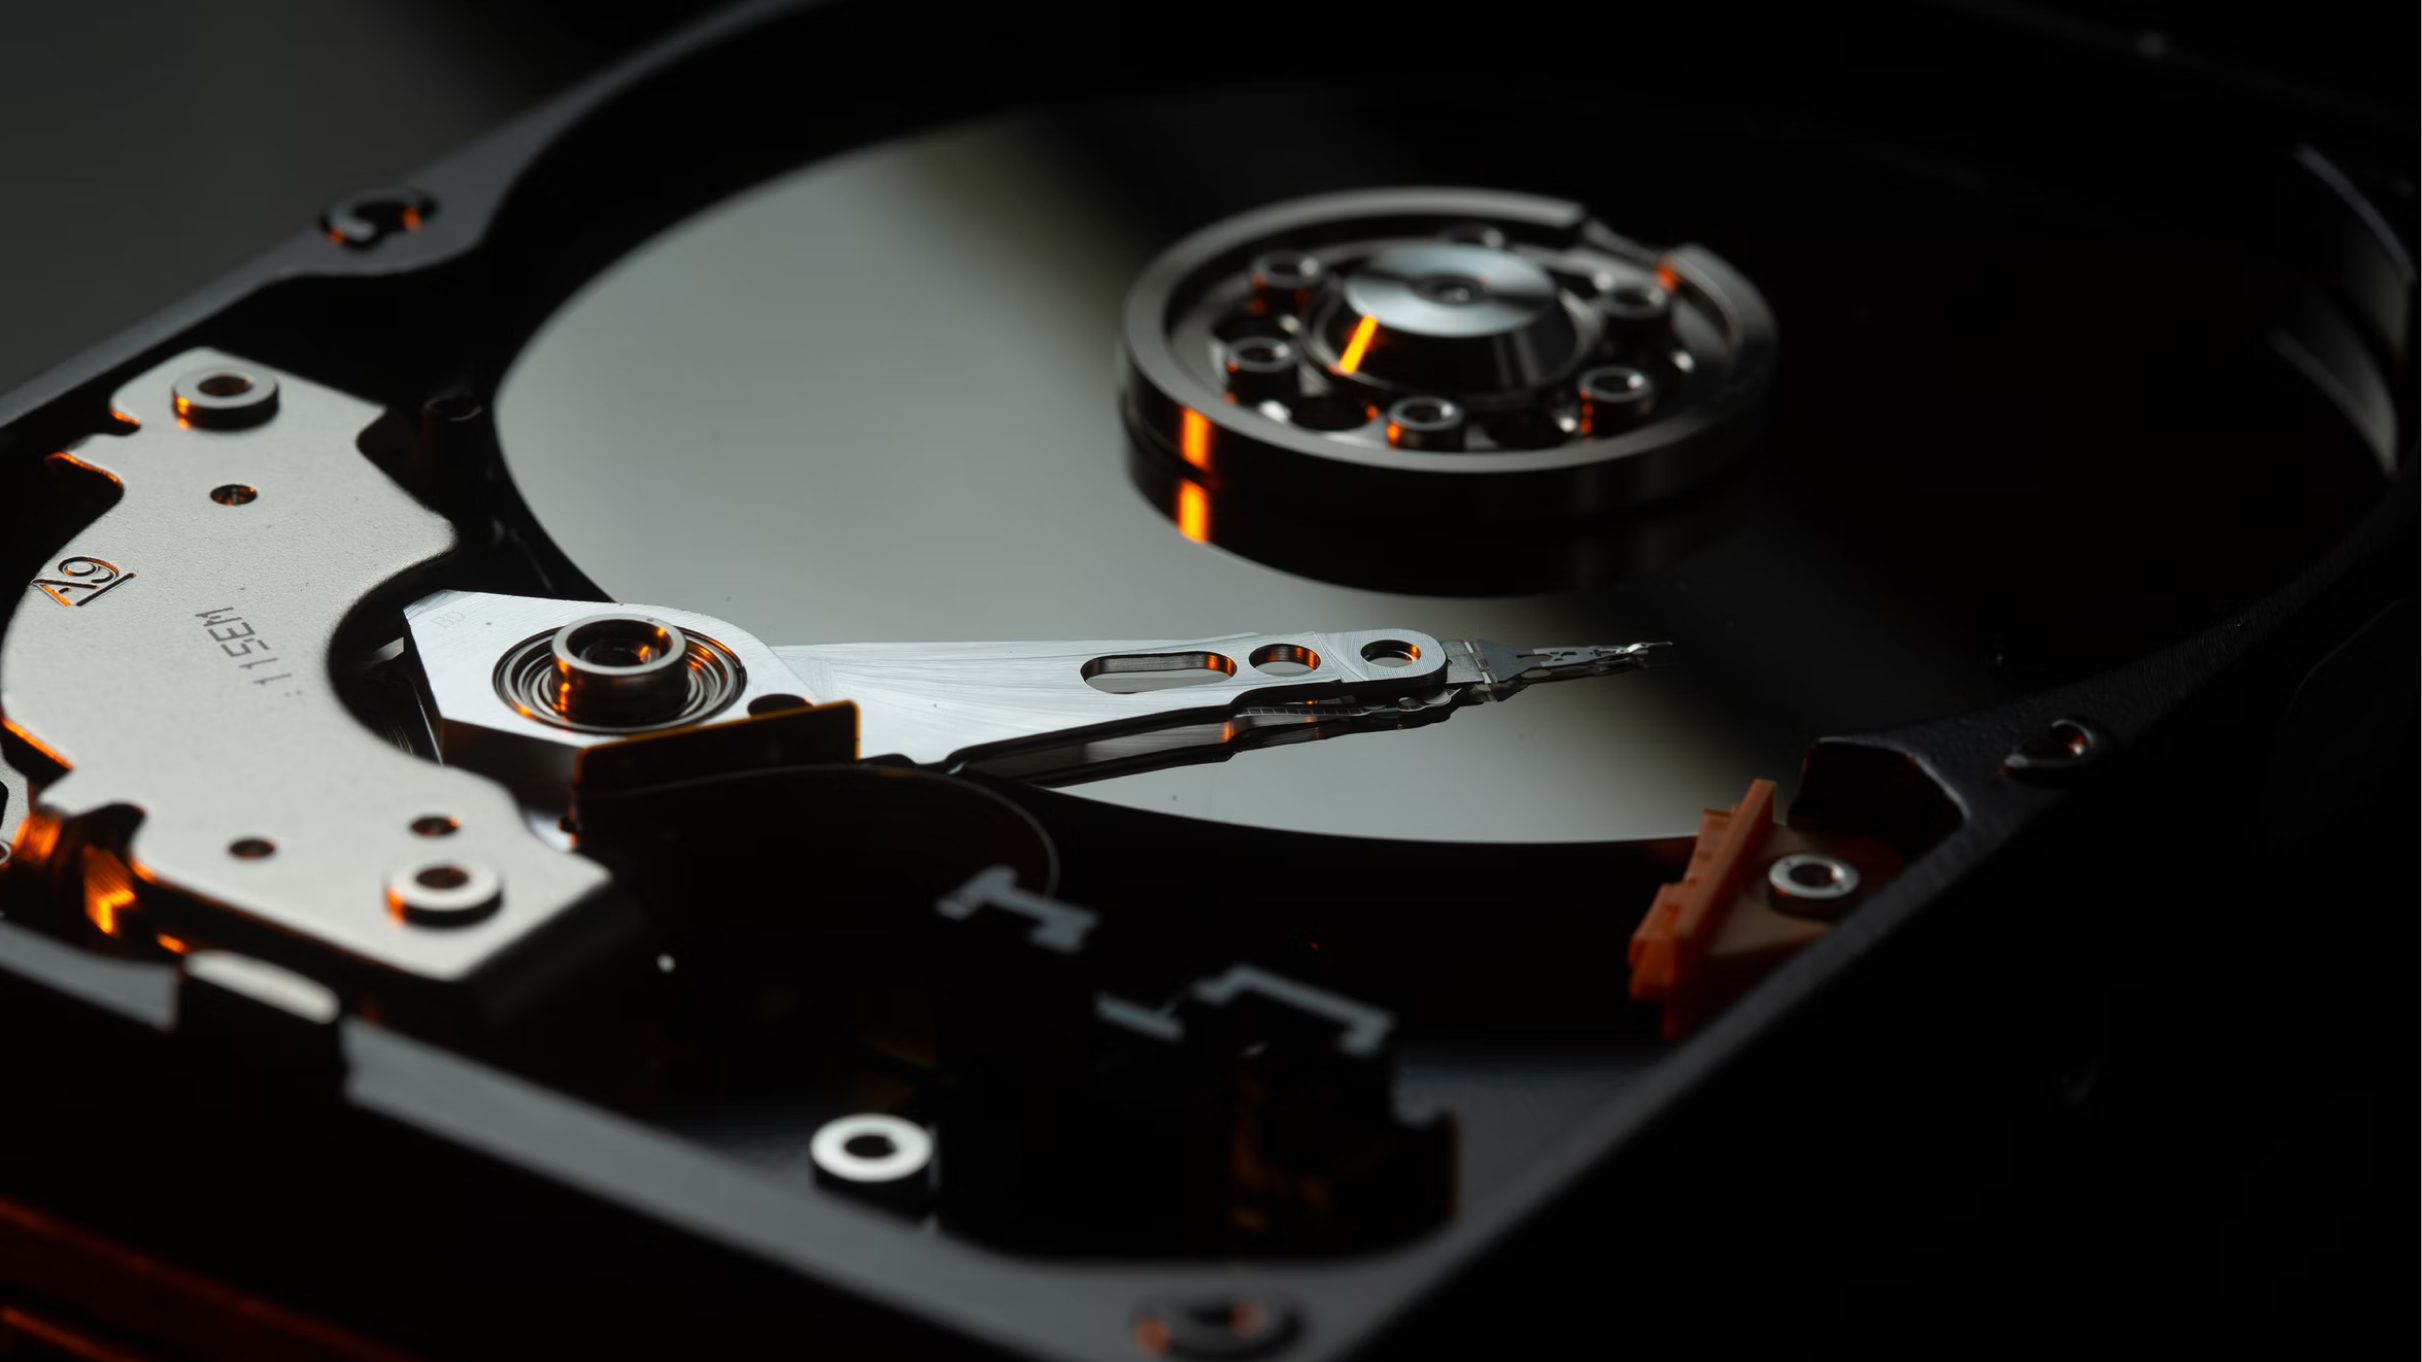
External Hard Drives
For those new to photography, you might not have many images and have enough storage on your computer. After a while, and many shoots later, your collection of images will grow and soon exceed the computer storage capacity.
In this instance, moving your images onto an external hard drive is the next step (remember the 3-2-1 strategy – you’ll need two external drives).
Not only will this free up space on your computer, it will also keep your images nicely organised and separate from other files on your computer.
External hard drives are incredibly affordable and if you just plan on storing images, you can opt for a slower HDD (as opposed to an SSD drive).
One thing to note is HDD drives use mechanical elements so you should always take care when handling them and never drop them.
RAID is Not a Backup
RAID stands for ‘redundant array of independent disks’.
Essentially it’s an umbrella term to describe having copies of data and not being dependent on one storage device. Without a RAID, if one of your drives fails you will lose all the data.
There are lots of different types of RAID configurations – from a simple mirroring of drives all the ways to more robust and extreme solutions which will protect you in very unlikely events, such as multiple drives failing at the same time (this can be quite complex).
The important thing to remember however is that although it reduces the risk of data loss through hardware failure, it does not prevent data loss through human error, file corruption or on-site disaster (natural disaster, house fire, water damage etc).
A RAID backup will mirror or duplicate data across different storage devices. That means if you delete or change a file on one disk, the change will simply be replicated on the other disk and be lost. RAID is therefore not an effective backup.
The solution is to use a RAID backup system in combination with a cloud backup service that has file versioning/history so you can always recover the files.
Cloud Storage vs Cloud Backup
One important thing to learn is the difference between cloud storage and cloud backup. They’re similar concepts but differ slightly on the intended use.
Cloud storage
Cloud storage (OneDrive and Dropbox for example) is a solution designed to store files in one centralised location – in the cloud. You can easily access these files from multiple devices and you can share them with people very easily.
However, cloud storage is only really syncing files and there is always the risk that if one file becomes corrupt, the issue simply syncs across to the cloud. Some services have file versioning but to be honest it’s not a very robust and reliable solution.
It’s also worth mentioning that in the small print and T&Cs on many of these services, they do not guarantee the backup of your data. If the particular company had an issue at one of their data storage centres (a fire for example) they can’t guarantee your data will be safe.
In other words, you can’t rely on cloud storage as a sole solution and you should always do regular backups independent of the service.
Advantages
- Good for sharing files
- Good for access on multiple devices
- Easy to setup
Disadvantages
- Limited file versioning
- Limited data protection
- Not the most robust solution for large files
Cloud Backup
Cloud backup on the other hand, is simply storing a copy of your data (from an external drive for example) at a remote location – the cloud.
These providers will often provide more sophisticated file versioning, meaning if a file becomes corrupt or if you accidentally delete a file, you can quickly recover it.
Cloud backup provides are serious about keeping your data secure by having more advanced security measures to prevent data loss.
They are also much more secure and provide encryption on what you store with them. For these reasons, they primarily provide services to businesses, where data protection is really important.
Here is a list of the best cloud backup providers:
I have a personal preference for Backblaze and I think they have an excellent product. If you look at the reviews, most people agree (especially photographers and videographers).
Advantages
- More effective data recovery
- Security and encryption
- More suited for high amounts of data
Disadvantages
- Bandwidth limitations
- Not as easy to setup
My Backup Strategy
Duel Memory Cards
Protecting your data actually starts before even taking an image. Most premium and ‘high-end’ cameras will have two memory card slots, meaning you can write images to both cards.
SD cards have become very reliable but there’s always the chance of corruption and one failing. I always make sure I write RAW files to both cards to protect against this, building an element of redundancy into my workflow.
External Hard Drives
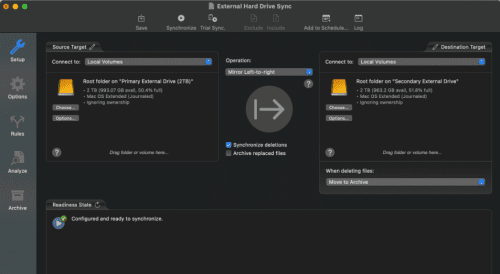
After slotting my SD card into my laptop and opening Lightroom, I’ll make a copy to my primary external hard drive. I’ll then connect my secondary external hard drive that will mirror the primary drive. This is my basic RAID configuration.
Mirroring Drives – ChronoSync
ChronoSync is the software I use to mirror two external hard drives. I actually use ChronoSync Express (which is available on the App Store) which is a slimmed-down version of the main application.
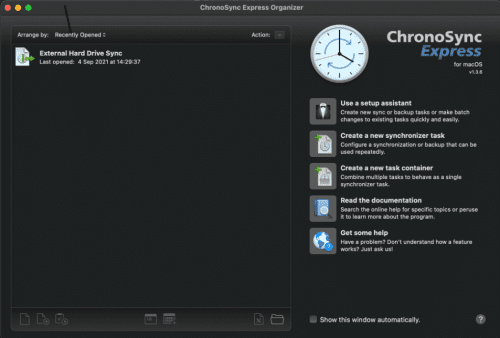
It might sound like quite a straightforward thing to do and you would expect a tool readily available on your computer for this – unfortunately, there is no native solution on the Mac (that I know of).
You could always copy and paste files but this really isn’t the best solution for large data transfers.
ChronoSync does what I need perfectly. On the surface, the software looks a bit dated and just a quick look on their website will confirm this. But it’s a really powerful bit of software and I barely scratch the surface of what it can do.
After transferring new images from my SD card to my primary external hard drive, I then use ChronoSync to create an exact copy on a secondary external hard drive. I now have two hard drives which are exactly the same.
If you’ve bought a new external drive and you’re looking to set up a copy of your primary drive, it will take a while to mirror using ChronoSync (depending on how much data you have of course). For example, 1TB at 65Mbps read/write speed will take about 3 hours.
After initial setup however, ChronoSync is really quick. It will scan your target drive and identify the changes that need to be made.
Pay attention to setup. It’s really important that your secondary hard drive is mirroring your primary drive as this drive contains new images from your SD card.
As I haven’t formatted my SD card just yet, I effectively have four copies at this stage (two SD cards and two external drives). We’re not done just yet however. I still need to have an off-site backup.
Off-Site Backup – Backblaze
![]()
I’ve been using Backblaze for a little while now and I honestly think it’s a really excellent service.
It’s really quick to setup and more importantly, it’s really easy to manage – keeping your data safe.
There’s plenty of very thorough reviews online, comparing all the cloud backup services available on the market. Most of the time Backblaze comes out on top and provides the best overall package.
Backblaze is also the most affordable and the personal backup service is $70 per year for unlimited storage. It’s quite hard to beat to be honest!
One thing to note is, as discussed above, this is a cloud backup solution. If you do not connect your external drive to your computer for longer than 30days, Backblaze will stop backing up this data. There’s plenty of information on their website but it’s one thing to note.
After connecting my primary external hard drive to my computer, Backblaze will recognise this and begin the process of uploading to the cloud.
Backblaze is intended to quietly ‘run in the background’ while you go about using your computer. This means it can take a little while (depending on your Wi-fi speed of course) to get your new files in the cloud.
With my Wi-fi speed, I can upload 80GB per day to my Backblaze account. (In the advanced options, you can increase this even more and reduce throttling if you wish).
In my experience, roughly 10GB of new files will be store in my Backblaze account within 3 hours of connecting my drive.
After this stage, I have four local copies of my images (SD card x2, external drive x2) and one copy stored off-site and in the cloud.
Formatting SD Card
Only after my backup strategy is fully complete will I format my SD card – I would suggest a buffer and do a couple of checks just to make sure before you delete anything.
However, I have a few high capacity (128GB) cards and to be honest, I leave my images on there until I fill the cards up. This is probably not best practice and people would suggest otherwise to keep your card ‘clean’.
So it might be months before I actually delete the images on the card even after the backup process is complete.
I wouldn’t suggest you need to do this, it’s more of a comforting factor.
Lightroom Classic Catalogue
One important thing to remember is to back up the Lightroom Classic catalogue.
For those unaware, Lightroom Classic is never storing your images. It’s only storing information about your images and the edits you make within the software.
It’s therefore really important to back up this information and if not, you’re at risk of losing all of your edits – in my case it’s hundreds, if not thousands of hours of work!
By default, Lightroom Classic will store the catalogue locally on your computer (usually in the ‘Pictures’ folder). This is to access the fast SSD drive on the computer. Clicking on ‘Catalog Settings’ will find the location stored.
Within the catalogue settings, you can also configure when to backup this catalogue. I set mine for ‘every time exiting Lightroom’ just to be safe.
It’s important not to save this backup to your computer – this defeats the purpose of backing up. If the computer fails, you still lose the catalogue alltogether.
I store my Catalogue in the same way as my images. A copy will be on my primary external drive, another copy on my secondary external drive, and a final copy in the cloud with Backblaze.
Final thoughts…
I hope you found the article helpful and you learnt something from my own workflow. I don’t claim to have the best backup workflow but it works for me and more importantly, it protects my images.
I think it’s an important and often overlooked area of photography and the fact you’re reading this article is a good sign. Like most aspects of photography, it’s all a learning curve and I can certainly see how much I’ve improved with my workflow and how much I’ve learnt in the area of data management.