After sharing a few videos of our Namibian adventure on my YouTube channel, I’ve received lots of questions, many of whom are planning their own trips to this incredible country.
To help answer those questions and make your planning process easier, I’ve put together a detailed Namibia Travel guide.
In this article, I’ll share how I planned our Namibia trip, the lessons we learned along the way, and tips to ensure you make the most of your visit to Namibia.
Whether you’re drawn to the iconic dunes of Sossusvlei, the wildlife of Etosha National Park, or the rugged landscapes of Damaraland, this guide will help you prepare for an unforgettable adventure.
Why Visit Namibia?
Namibia had been on my travel bucket list for years, ever since I saw breathtaking photos of iconic spots like Sossusvlei and Deadvlei. While researching the country, I discovered it offers so much more than these famous landmarks.
Namibia is a land of vast wilderness, untouched beauty, and unique landscapes that feel like nowhere else on Earth.
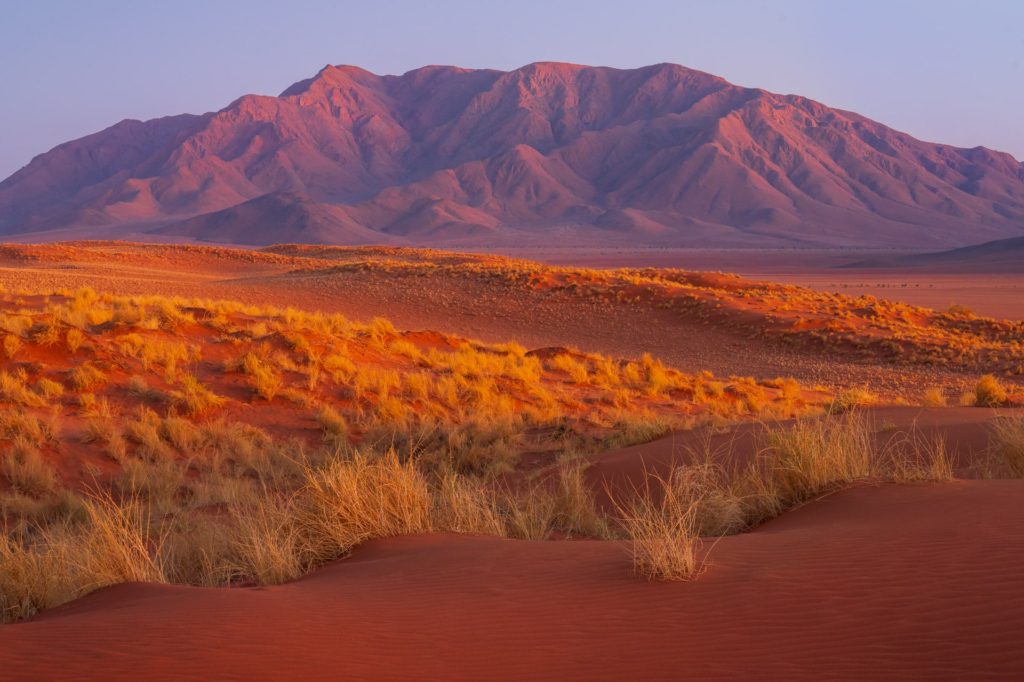
This sense of unspoiled adventure is drawing more and more travellers, as Namibia’s popularity as a tourist destination continues to grow.
Whether you’re exploring its towering sand dunes, wildlife-rich national parks, or remote desert vistas, Namibia offers an experience that’s both awe-inspiring and unforgettable.
When to visit Namibia?
We visited Namibia in late August and early September, and this timing worked perfectly for our itinerary.
One of the main reasons we chose this period was because it’s ideal for safaris in Etosha National Park. Late in the dry season, animals tend to congregate around waterholes, making wildlife spotting incredibly easy and rewarding.
While daytime temperatures were pleasantly mild with clear blue skies, it did get chilly at night and during the early mornings – something to keep in mind when packing.
That being said, Namibia is a year-round destination, and the best time to visit really depends on your planned activities.
For us, prioritizing safaris and knowing we could also enjoy comfortable daytime weather for hikes made this the perfect time for our adventure.
Getting Around Namibia
When it comes to exploring Namibia, you generally have two options: hire your own vehicle for a self-drive adventure or join a group tour.
For our trip, we opted for a self-drive, which gave us the flexibility to explore at our own pace.
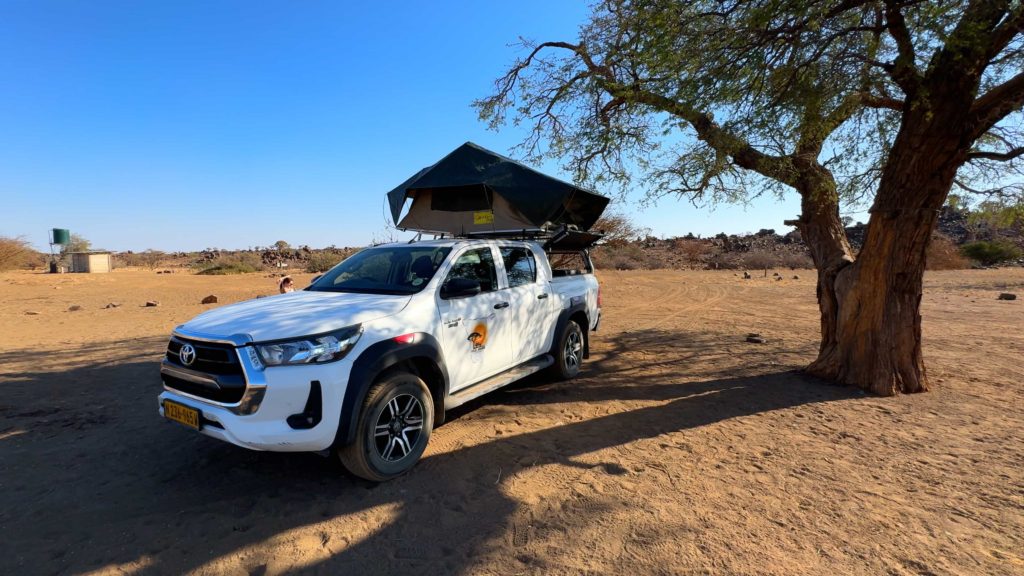
We rented a 4×4 Toyota Hilux, a highly reliable vehicle for Namibian terrain. While a 4×4 isn’t strictly necessary for all routes, certain areas we visited required it (more on that later).
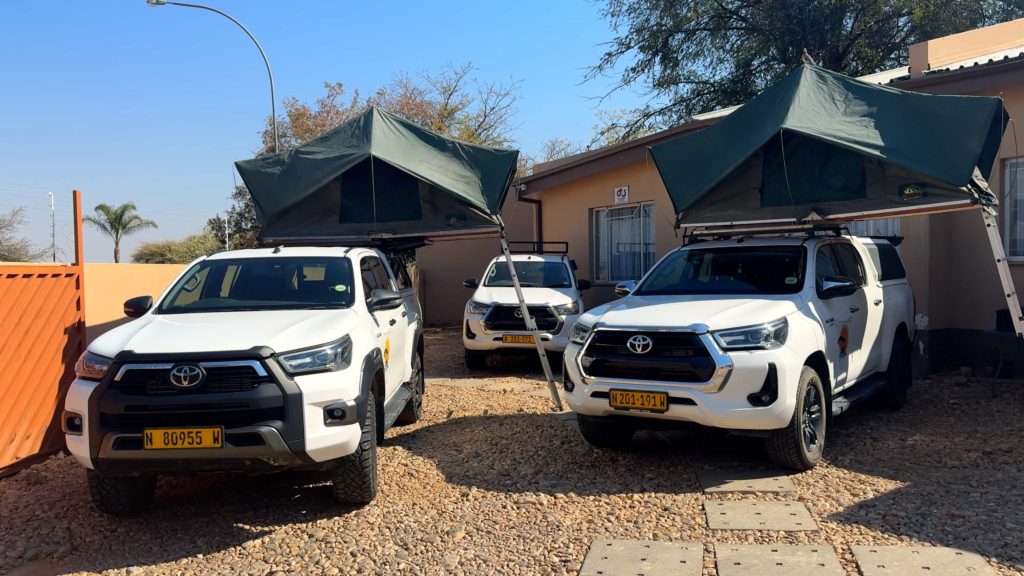
Additionally, our vehicle came equipped with an extra-long-range fuel tank, which was useful given the long distances between refuelling points in some parts of the country.
One of the highlights of our trip was experiencing rooftop camping, a popular option in Southern Africa.
It’s a fantastic way to immerse yourself in Namibia’s incredible landscapes.

In Windhoek, Namibia’s capital, there are plenty of rental companies offering vehicles equipped with everything you’ll need for camping.
Our vehicle setup included:
- A rooftop tent
- Plates, cutlery, and glasses
- A gas canister with a stove
- Cooking pots and pans
- Camp chairs
- A fridge/freezer
However, I found that choosing a rental company a bit overwhelming, as there are many companies in Windhoek.
My advice? Check Google reviews and focus on companies with good communication and a reputation for resolving issues quickly. Most offer similar vehicles and equipment, so I prioritised customer service when making my decision.
Lastly, book your vehicle and camping gear well in advance, especially if you’re traveling during peak season (June – October), as availability can be limited.
Planning ahead will ensure you’re fully prepared for your Namibian adventure!

Driving in Namibia: What to Expect and General Safety Tips
I wouldn’t usually spend too much time on this topic but there are unique things about driving in Namibia you need to consider.
When I say safety, I don’t mean crime or anything like that. It’s more the fact that Namibia is very sparsely populated and in places, incredibly remote.

Safety Considerations
Namibia’s remoteness is one of its defining features. At times, we drove for hours without seeing another vehicle.
While this isolation is part of the allure, it also means you need to be well-prepared in case of emergencies.
One of the first things we did upon arrival was purchase a local SIM card, which worked well throughout most of our trip.
However, mobile signal isn’t guaranteed everywhere, especially off the beaten track.
To address this, we brought along a Garmin inReach Messenger, a satellite communication device that allows messaging even without phone signal (other brands are available).
While we didn’t need to use it, having it provided peace of mind. If buying one isn’t an option, many car rental companies offer satellite devices for hire.
If you plan to venture beyond the main tourist routes, I would say having a satellite device is essential.
Gravel Roads
Namibia’s roads are a mix of paved highways and unpaved gravel roads.
As someone that lives in the UK, we don’t have gravel roads like this and tarmac roads are the norm.

Driving on gravel roads can take some getting used to. Here are a few tips:
- Take it slow at first – Build your confidence as you get a feel for how the vehicle handles on gravel
- Check tyre pressures – Properly inflated tyres are essential for stability and safety
- Smooth driving – break early, corner gently and avoid sudden changes in speed or direction
By the end of our trip, we had become very used to driving on gravel roads and we enjoyed the sense of adventure it gave.
Be Prepared for Flat Tyres
Flat tyres are common in Namibia due to the gravel roads and it’s recommended to take two spare tyres!
Before heading out, make sure you’re comfortable changing a tyre. Your rental company should demonstrate how to do this and ensure the vehicle is equipped with the necessary tools.
Before we left the car rental location, I did double-check we had all the tools / equipment to change the tyre.
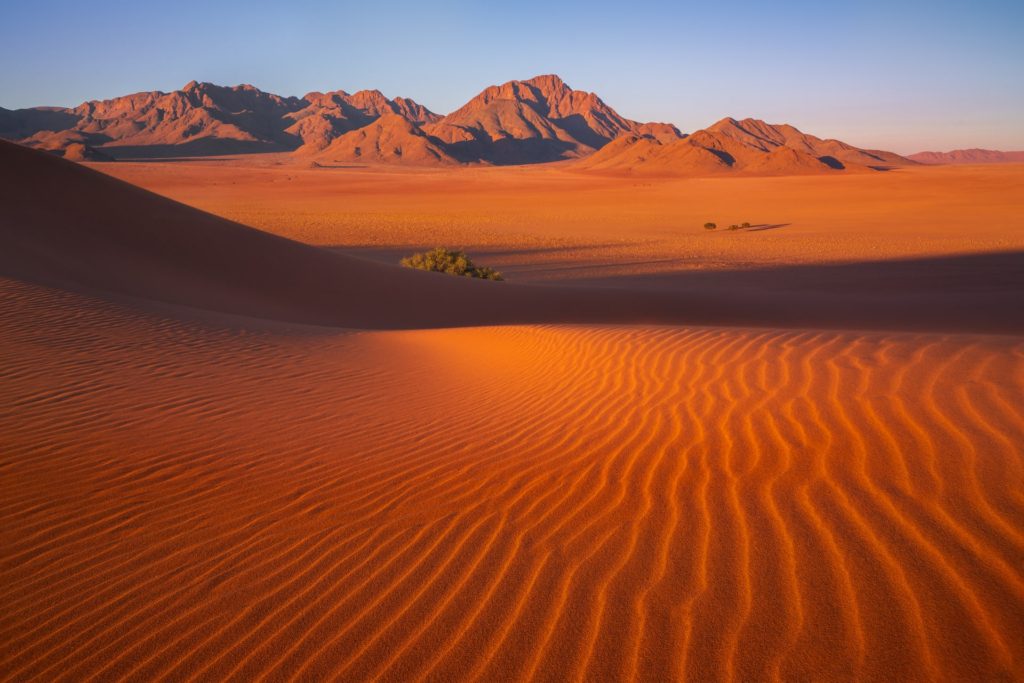
Driving in Namibia is not just a means to get from one place to another – it’s an integral part of the experience. With a bit of preparation and caution, it’s an incredibly rewarding way to see this stunning country.
Route Planning for Your Namibia Adventure
Proper route planning is crucial when visiting Namibia, a vast country with long stretches of remote roads and incredible sights.
Here are some of the tools I used to plan the trip.
Google Maps
- A great starting point for creating a rough itinerary.
- Use it to locate key destinations, check photos, read reviews, and get a sense of the layout.
- However, Google Maps isn’t always reliable for estimating driving times on Namibia’s gravel roads. It calculates times based on speed limits, which aren’t always realistic on unpaved routes.

Tracks4Africa
- A more accurate tool for Namibia.
- Provides detailed information on driving times, road conditions, and surfaces, ensuring realistic driving times
- Particularly useful for finding lesser known camping locations
On gravel roads, expect slower speeds due to varying conditions. We found it helpful to add roughly 20% extra time to Google Maps’ estimates to account for the slower pace. We found Tracks 4 Africa was more accurate.

Balancing Driving and Exploring
Namibia’s size and distances can be overwhelming. To make the most of your trip:
- Avoid too much time in the car. Space out longer travel days so you’re not driving excessively on consecutive days.
- Plan time for exploration. Allow yourself the flexibility to stop and enjoy the incredible scenery and attractions.
- Remember, driving in Namibia is part of the adventure, offering an unforgettable sense of the country’s vastness.
Fuel and Supplies
While fuel is widely available in main tourist areas, always ensure your planned route includes refuelling stops. This is especially critical for off-the-beaten-path trips.
Supermarkets and Supplies – Similar to fuel, plan your stops at well-stocked supermarkets to replenish supplies, especially if you’re camping or traveling to remote regions.
Destinations We Visited on Our 14-Day Namibia Adventure
Here’s an overview of the incredible places we visited, along with insights into where we stayed and what to expect at each destination.
1. Quiver Tree Forest
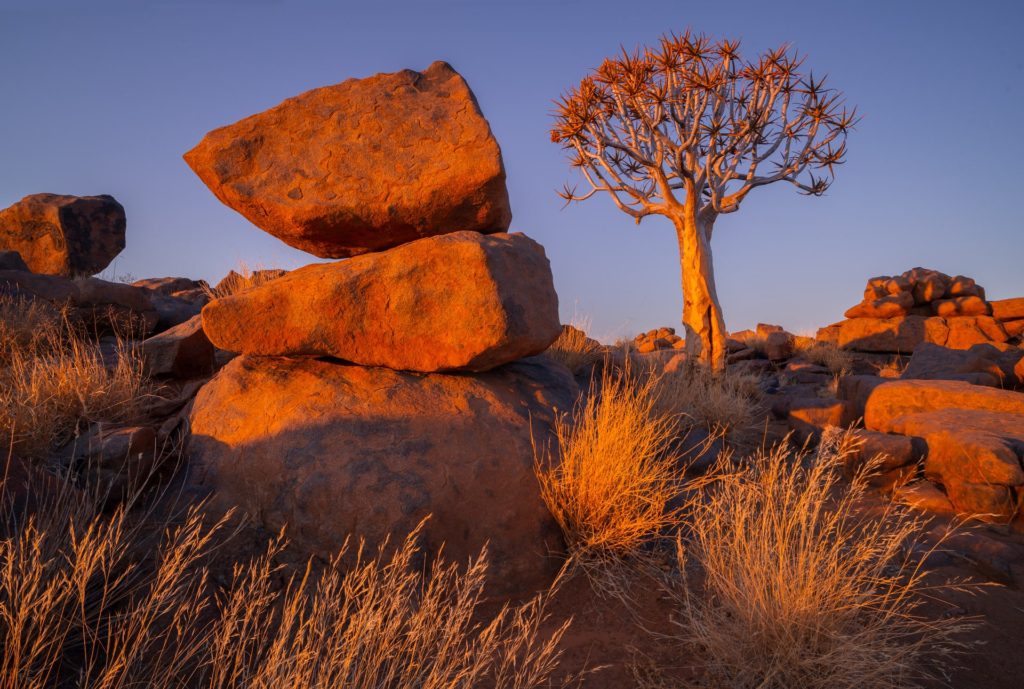
From Windhoek, we headed south to the area near Keetmanshoop, known for its unique quiver trees. These aren’t actual trees but a type of aloe, and they’re fantastic for photography, especially astrophotography.
We stayed in this area for two night, split across two different campsites.
Quiver Tree Forest Rest Camp: A popular choice with good access to the see the Quiver Trees.
Mesosaurus Fossil Campsite: Our favourite of the two, offering better facilities and a larger area to explore.
2. Fish River Canyon
A 2-hour drive brought us to the Fish River Canyon, the second-largest canyon in the world and the largest in Africa.

The scale is breathtaking, but photos don’t truly capture its grandeur. You really have to be there to really appreciate the scale.
We stayed at the Canyon Roadhouse which had excellent facilities, a lovely pool, and a great overall setting with all of the classic American cars – a proper roadhouse!
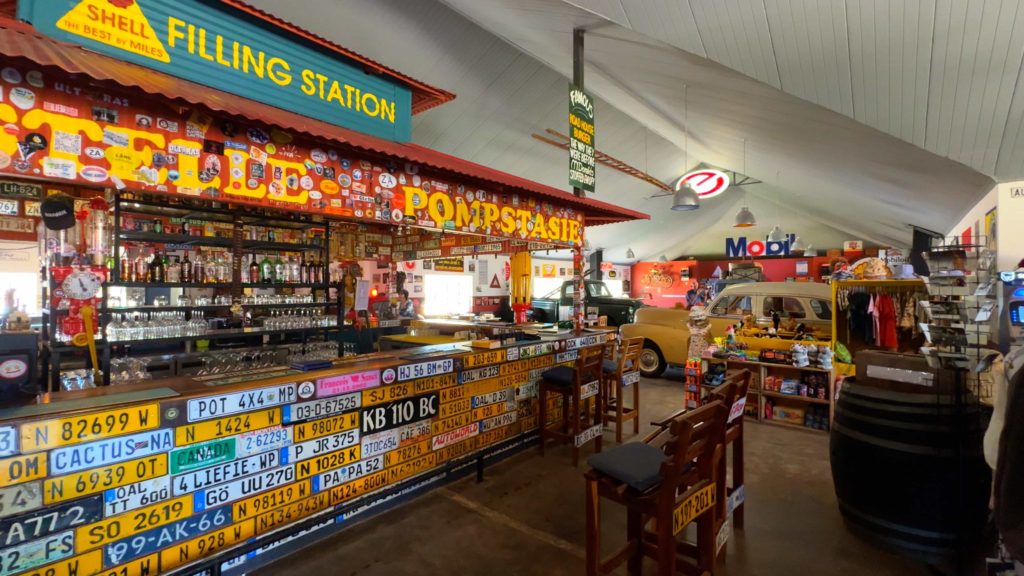

I would say one night here is enough unless you’re planning to do extended hikes.
3. NamibRand Nature Reserve Area
A 6-hour drive north brought us near the beautiful NamibRand Nature Reserve, which I’d say is known for having lots of luxury lodges.
We found a budget-friendly campsite (Wêreldend Camping) run by a local couple on their farm, nestled beautifully in the dunes.
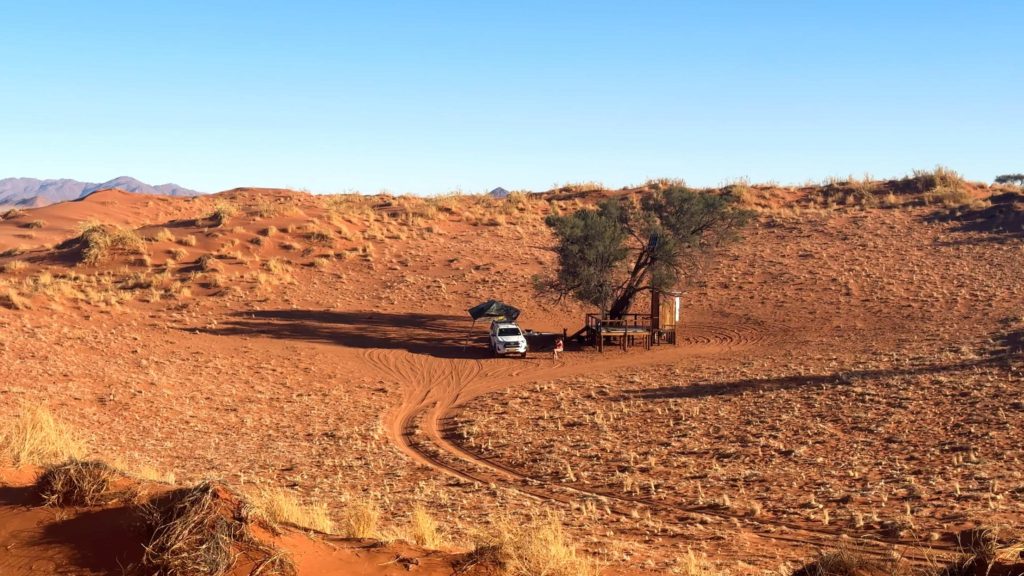
Doing some research to find this hidden gem of a campsite certainly paid off. I found this campsite using Tracks4Africa and these campsites often aren’t on mainstream booking sites.

4. Sossusvlei & Deadvlei
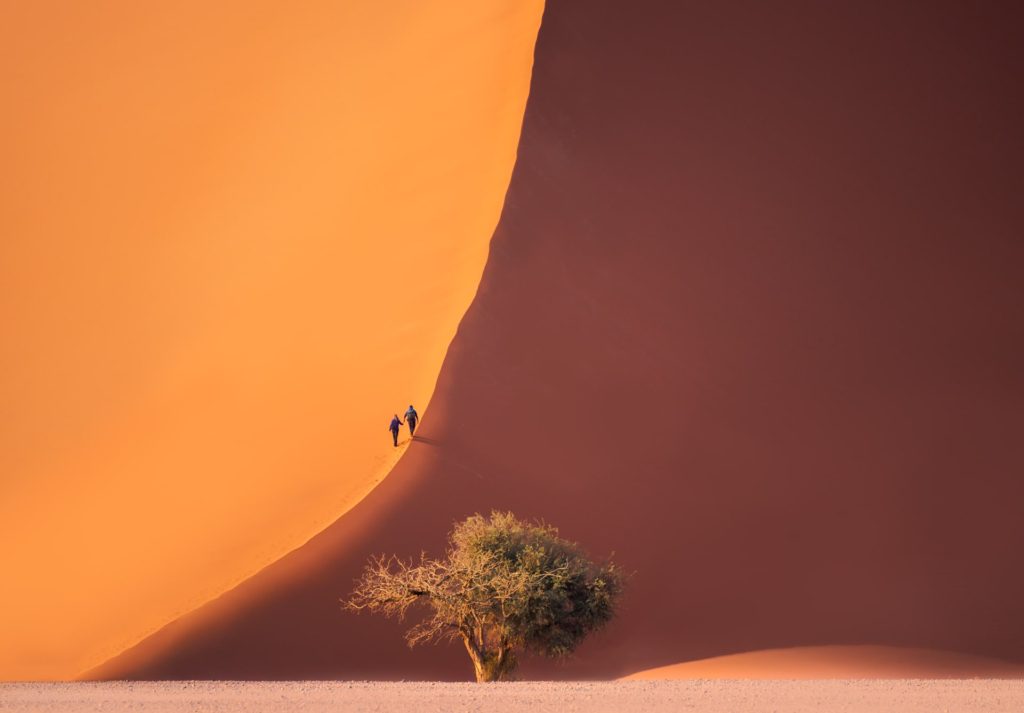
Sossusvlei and Deadvlei was one of the highlights of the trip and a must-visit destination in Namibia.
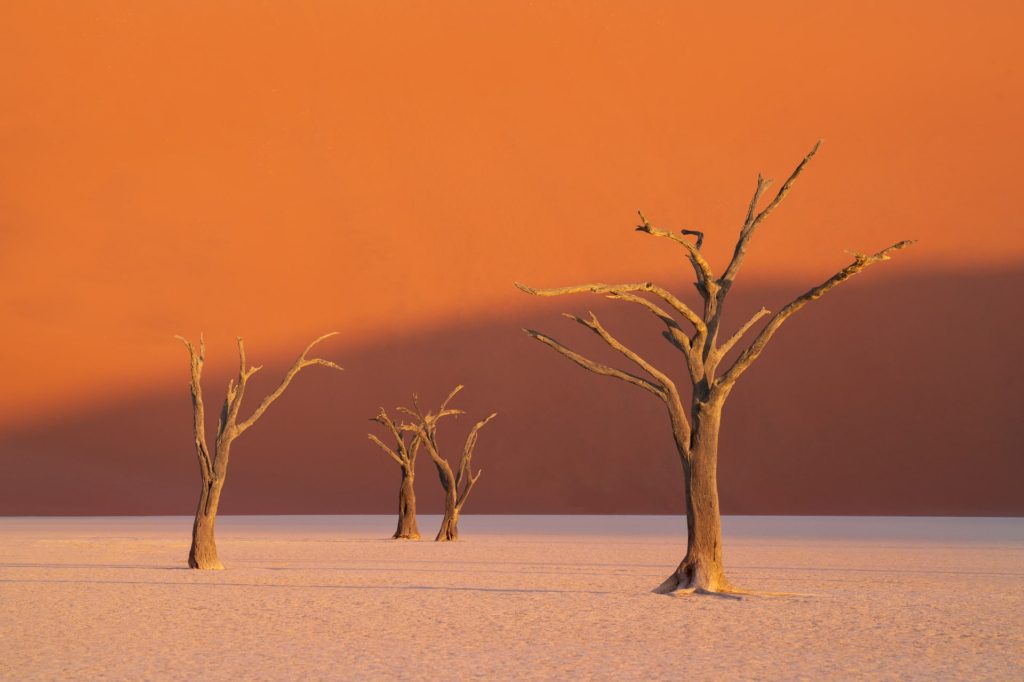
Home to some of the world’s tallest and most photogenic dunes, as well as the iconic petrified trees in Deadvlei, it really is a beautiful location.
We stayed at two different places when we were here.
Sossus Dune Lodge was our ‘premium’ lodge stay in Namibia. On of the main reasons I wanted to stay here was better access to Sossusvlei at sunrise and sunset (more on that later in the article).
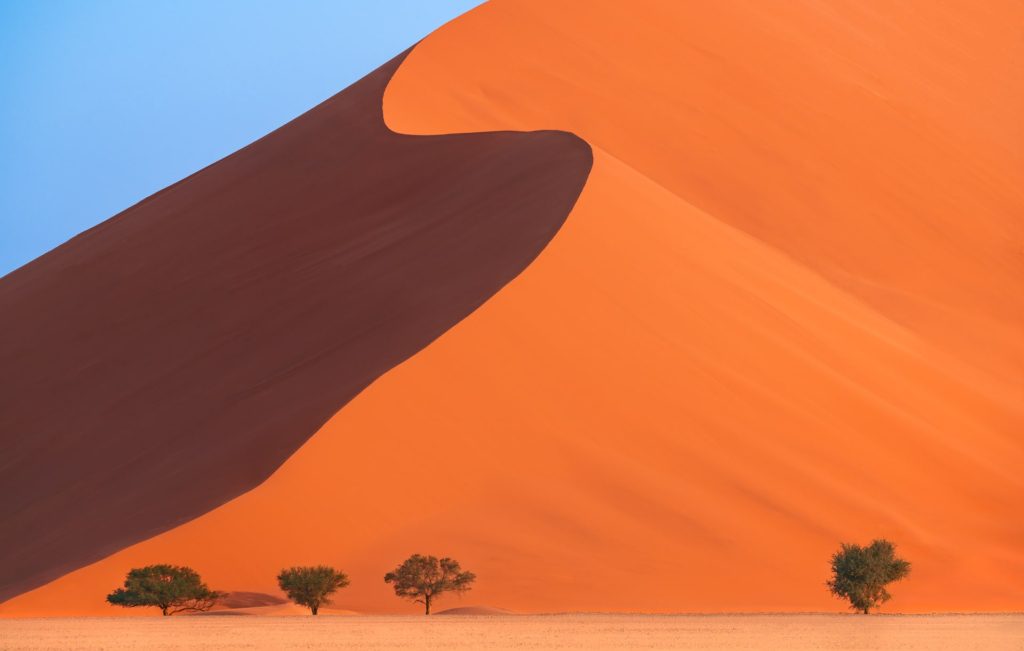
We also stayed as the Sesrium campsite which is a more budget friendly option, also with great access to the park for sunrise and sunset.
One important thing to know before visiting Deadvlei is the last section of driving involves a 4km sand track. You will definitely need a 4×4 vehicle for this section as the sand is quite deep.

If you don’t have a 4×4 vehicle or you don’t want to drive yourself, there is a shuttle service from the 4×2 parking area to the start of the Deadvlei trail.
I wanted to drive the sand track for a couple of reasons. The first, I thought it would be a great experience. Secondly, I wanted to photography Deadvlei at sunrise and sunset.
Unfortunately the shuttle service doesn’t really operate at these times. I believe there is a sunrise service but this would arrive too late for the photos I wanted to capture.
Before the trip, I did some research on driving the sand track:
- Sounds obvious, but remember to engage 4×4 mode
- Air down the tyres – this will help with traction
- Maintain momentum – if you stop, you will sink into the sand
- Drive into existing car track where the sand will already be compacted
It all went well in the end, we didn’t get stuck and it was a great experience – if you do get stuck, people will be on hand to help (for a fee).
5. Spitzkoppe
Known as the Matterhorn of Namibia, Spitzkoppe is famous for its striking granite rock formations that rise dramatically from the surrounding desert.
This otherworldly landscape is a paradise for photographers, hikers, and anyone seeking a tranquil escape into nature.
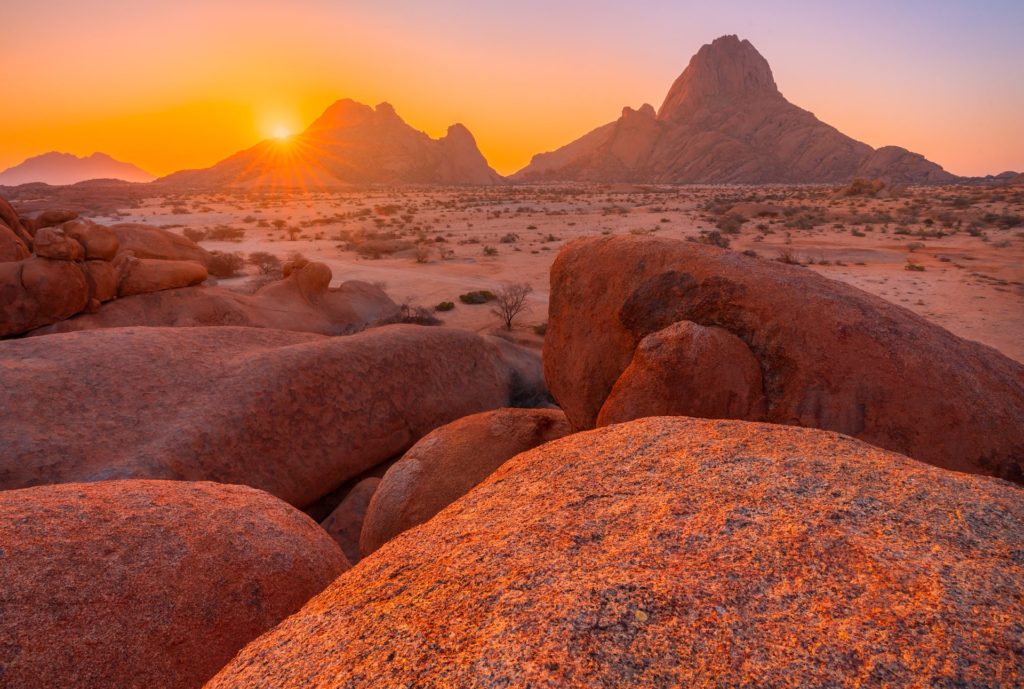
We camped at the Spitzkoppe Community Rest Camp, which offers basic facilities such as showers and toilets.
While amenities are minimal, the real highlight is the stunning campsites themselves, each set against a backdrop of breathtaking rock formations.

Waking up to the sunrise lighting up the granite peaks was an unforgettable experience.
Tips for Visiting Spitzkoppe
- Arrive Early: Campsites are allocated on a first-come, first-served basis, so getting there early ensures you can choose a spot with the best views.
- Plan for Two Nights: Spending two nights here felt ideal, giving us enough time to explore the area, enjoy the starry night skies, and fully soak in the unique beauty of the landscape.
Spitzkoppe is a must-visit destination for anyone traveling through Namibia, offering a perfect mix of adventure, tranquility, and jaw-dropping scenery.
6. Sandwich Harbour (Day Tour)
This is where towering sand dunes meet the Atlantic Ocean, creating a striking landscape.
Originally, Sandwich Harbour wasn’t part of our itinerary. I had read that the coastline is often cold and foggy, which can dampen the experience.

However, after keeping an eye on the weather and seeing a promising forecast, we decided to add it to our trip — and I’m so glad we did!
Accessible only via guided tours, Sandwich Harbour turned out to be one of the most unique and dramatic stops of our trip. For those planning a visit, don’t dismiss it too quickly — with the right conditions, it’s an experience that is absolutely worth it.
The plan was to drive to Swakopmund from Spitzkoppe, do the tour and then drive back to Spitzkoppe in time before sunset – which we did.
7. Etosha National Park
Our final major destination was Etosha National Park.
Known for its diverse wildlife and unique salt pan landscape, Etosha was a highlight of our trip and offered some of the best game-viewing opportunities.
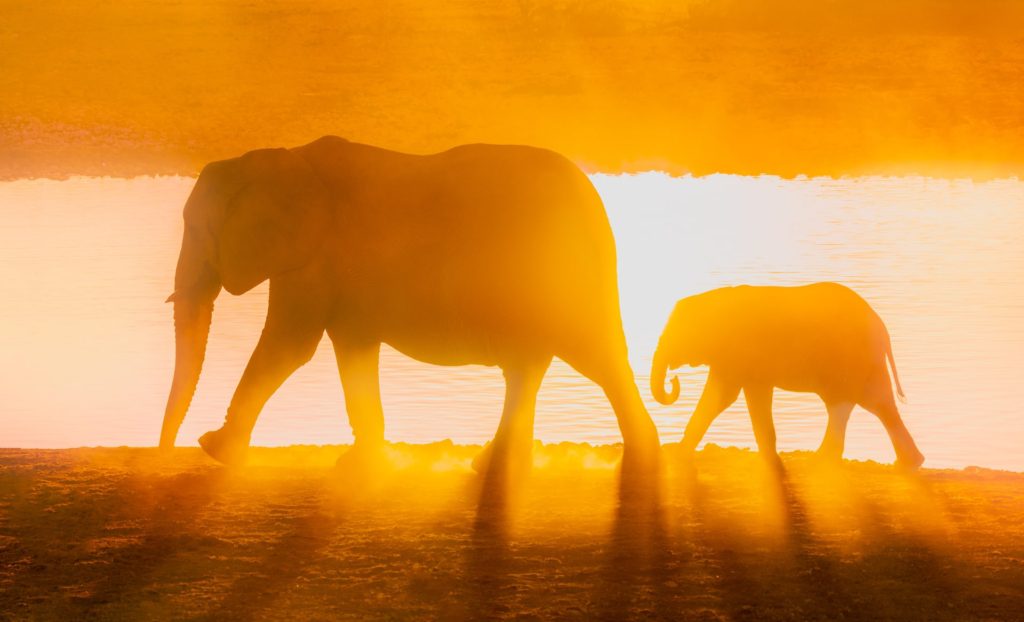
Etosha is somewhere where you can do a self-drive safari – something we haven’t done before.
As I mentioned earlier in this article, we visited in late August to early September, at the tail end of the dry season. During this time, water sources within the park become scarce, and animals naturally congregate around the remaining waterholes, making them much easier to spot.

In total, we had 2 and a half days of safari which we felt was a good amount of time.
Where We Stayed
- Onguma Tamboti Campsite: Located just outside the park’s eastern gate, this campsite was convenient, comfortable, and well-equipped.
- Okaukuejo Camp: Inside the park, this camp is famous for its floodlit waterhole, where you can watch animals like rhinos and elephants gather day and night.
- Halali Camp: Centrally located within the park, Halali also has a floodlit waterhole, offering excellent wildlife viewing during quieter hours.
Staying inside the park not only gave us access to a floodlit waterhole but it also gave us quick access to the park at sunrise when wildlife is most active.

This can make a huge difference in your game-viewing experience.
However, the facilities at the camps inside the park can feel basic and outdated. If you want to get more for your money, staying just outside the park gates might be a better option.
Etosha was the perfect finale to our Namibian adventure, combining breathtaking scenery and unforgettable wildlife encounters.
Budget and Costs for Our Namibia Trip (2024)
Here’s a breakdown of the key expenses from our 14-day adventure.
These are estimates based on our experience, and costs may vary depending on the exchange rate and season, but this should give you a general idea:
Car Hire and Camping Equipment – £1,560 / $1972 / €1874
This is the total price for 14 days and this was during the peak season. It may be cheaper at other times in the year.
Fuel – £400 / $505 / €480
We covered a distance of roughly 3,500km.
Namibia is vast, and driving long distances is inevitable. Fuel costs should be factored into your budget.
Food
Supermarkets – £300 / $379 / €360
We cooked most of our meals at campsites, stocking up at supermarkets along the way.
Eating Out: – £10 / $13 / €12 per person for a main meal and a drink.
We didn’t eat out often, but restaurants were generally very affordable.
National Parks
Sossusvlei (2.5 Days): £45 / $56 / €54 for two people.
Etosha (2.5 Days): £45 / $56 / €54 for two people.
National park fees are reasonable and offer great value for the experiences they provide.
Campsites £15–£45 / $19-57 / €18-54 per night.
Campsites vary in price, with NWR campsites (e.g., those inside Sossusvlei and Etosha) being on the higher end due to their prime locations.
Cash vs. Card
Most places accept card payments, but it’s wise to carry a small amount of cash for tips, particularly at fuel stations and restaurants.
You can’t get Namibian Dollars outside of Namibia. Instead, we brought South African Rand (ZAR) from the UK, as it is interchangeable with Namibian Dollars and mirrors its value.
Ensure any leftover cash is in South African Rand, as Namibian Dollars can’t be exchanged outside Namibia.
Of course, there were a few other costs as part of our trip but hopefully, this gives you an idea of what to budget for a trip to Namibia
Tips for Photographers Visiting Namibia
Namibia is a dream destination for travel and landscape photographers, offering some of the most unique and breathtaking scenes in the world.
Based on my experiences, here are some useful tips to help you make the most of your photography adventure in Namibia.

Sossusvlei & Deadlvei
If you’re planning to capture the magic of Sossusvlei, sunrise and sunset are prime times for photography, but access to the park during these hours depends on where you’re staying.
Understand the Gate System There are two gates at the entrance to Sossusvlei:
- Outer Gate: Opens at sunrise and closes at sunset.
- Inner Gate: Opens one hour before sunrise and closes one hour after sunset

To capture the golden light, you’ll need accommodation inside the outer gate as the best photo spots, like Deadvlei, are about an hour’s drive from the entrance.

Sossus Dune Lodge
For even better access, consider staying at Sossus Dune Lodge, located inside the inner gate.
This accommodation allows you to bypass gate timings, giving you more time to photograph at sunrise and sunset. For instance, it gave me enough time to capture Deadvlei at sunset.
While sunrise at Deadvlei is a popular choice, I found sunset offered a more unique perspective. Some of my favorite shots were taken during this time.
Staying at Sossus Dune Lodge will cost you however. We paid around £450 for our stay. Also, you’ll need to book well in advance because rooms to get booked up. We booked 9 months before our trip.
Etosha National Park
Staying at camps inside the park, such as Okaukuejo and Halali, offers some advantages.
Both camps have waterholes, perfect for photographing wildlife during sunrise, sunset, and even at night. Staying outside the park may limit your chances to capture these moments due to gate opening and closing times.

Lens Teleconverter
I rented a 1.4x Sony teleconverter, which extended the range of my 100-400mm lens to 140-560mm. This extra zoom was invaluable for safari photography, allowing me to get closer shots of animals.
Renting rather than buying was a more cost-effective option for me, as I wouldn’t use it frequently outside of this trip.
Using a Drone in Namibia
For aerial photography enthusiasts, Namibia has regulations for drone usage.
You’ll need to apply for an official permit from the government. This process can be time-consuming – submit your application at least 60 days before your trip.
You’ll also need to specify the locations where you intend to fly.

I read reports of drones being confiscated at the airport so preparation is key.
I brought my drone mainly for video footage, but I found the landscapes were often more impactful when photographed from the ground.
Namibia is a paradise for photographers, but planning is, I think, important to make the most of your trip.
Useful Things to Pack
I thought it might be useful to list some useful things we packed for the trip, in addition to the usual things you would pack for a trip like this.
Thermos Flask
We boiled water on the stove at night, made coffee, and stored it in the flask. By morning, the coffee was still warm and ready to enjoy without needing to set up the stove. Perfect for early starts when you want to hit the road quickly.
Binoculars
Don’t forget these for wildlife spotting on safaris!
Headtorch
Campsites can be very dark at night, and headtorches were invaluable. Whether setting up camp after dark, walking to facilities, or reading in the tent, these were a must-have.
Sleeping Bag
While the rental company provided sleeping bags, reviews mentioned they weren’t very warm.We brought our own extra-warm sleeping bags, which made chilly nights much more comfortable. It’s also a bit nicer to have your own. We packed them in our luggage.
Meal Planning for Camping
Before the trip, we planned camping meals for each night. This allowed us to create a shopping list and restock supplies at supermarkets along the way, saving time and effort at campsites.
Final Thoughts
So that wraps it up – that’s a run down of our experience of traveling in Namibia. Hopefully you found this useful. I’ve got to say, it was such a brilliant trip and I highly recommend a visit to anyone looking for a more adventurous holiday.
If you do have any question on something I didn’t cover in this video, feel free to comment down below or get in touch via social media.

Hello,
Thank you so much for the informative video. It has been incredibly helpful as we plan for our trip to Namibia in August!
I was wondering if you might be able to share which car company you used – I didn’t see it in the overview. Thank you!
Best,
Nina Waldron
Hi Nina, we used ‘Travel Namibia 4X4 Car Rentals’ (https://www.4×4-namibia.rentals/) – we had a brilliant service from Johan and the team – highly recommend!
Oh Wow! Thanks for the great itinerary tips, especially the gate system for best photo access times and the drone regulations. I appreciate your budget breakdown. I don’t typically see people share that on blogs. I’ve been planning my 15 day trip and this is a huge help.
Thanks,
Benjamin from NYC